obdsos sales@obdsos.com


Products Category
Hot Sale Products
 
Multi-cardiag M8 for Cars ...
USD60USD? (VIP)
 
 
Original BMW Smart Remote ...
USD70USD? (VIP)
 
 
BMW Benz Audi Porsche Car ...
USD400USD? (VIP)
 
 
Y3/9b4 Y3/9b5 Sensor for B...
USD40USD? (VIP)
 
 
VAS 6154 with WiFi ODIS 11...
USD120USD? (VIP)
 
 
BMW ICOM NEXT with WiFi V2...
USD300USD? (VIP)
 
 
X27.589 Stepper Motor / X2...
USD30USD? (VIP)
 
 
Porsche PIWIS 3 with V42.1...
USD1000USD? (VIP)
 
 
KT200 II ECU Programmer
USD650USD? (VIP)
 
 
Launch X431 IMMO Plus Key ...
USD1150USD? (VIP)
 
 
Autel MaxiIM IM608 II All-...
USD3200USD? (VIP)
 
Frequently Viewed
 
BMW ICOM NEXT with WiFi V2...
USD300USD? (VIP)
 
 
Launch X431 PRO3S+ SmartLi...
USD1450USD? (VIP)
 
 
Launch X431 IMMO Plus Key ...
USD1150USD? (VIP)
 
 
V2025.03 MB DoIP C6 XENTRY...
USD400USD? (VIP)
 
 
XHorse Multi-PROG Programm...
USD800USD? (VIP)
 
 
  OBDSOS PRODUCTS Car Locksmith Tool Key Cutting Machine
 
Product ID SL468
Product Name Ford Clamp for FO21 and Jaguar Tibbe Key
Product Price
USD120USD? (VIP)
Actual Weight (Kg) 0.4
Volumetric Weight (Kg) 0.5
Package Size (cm) 12*8*6
Related Download
Order Quantity:         
In Stock


Related Products
Description    
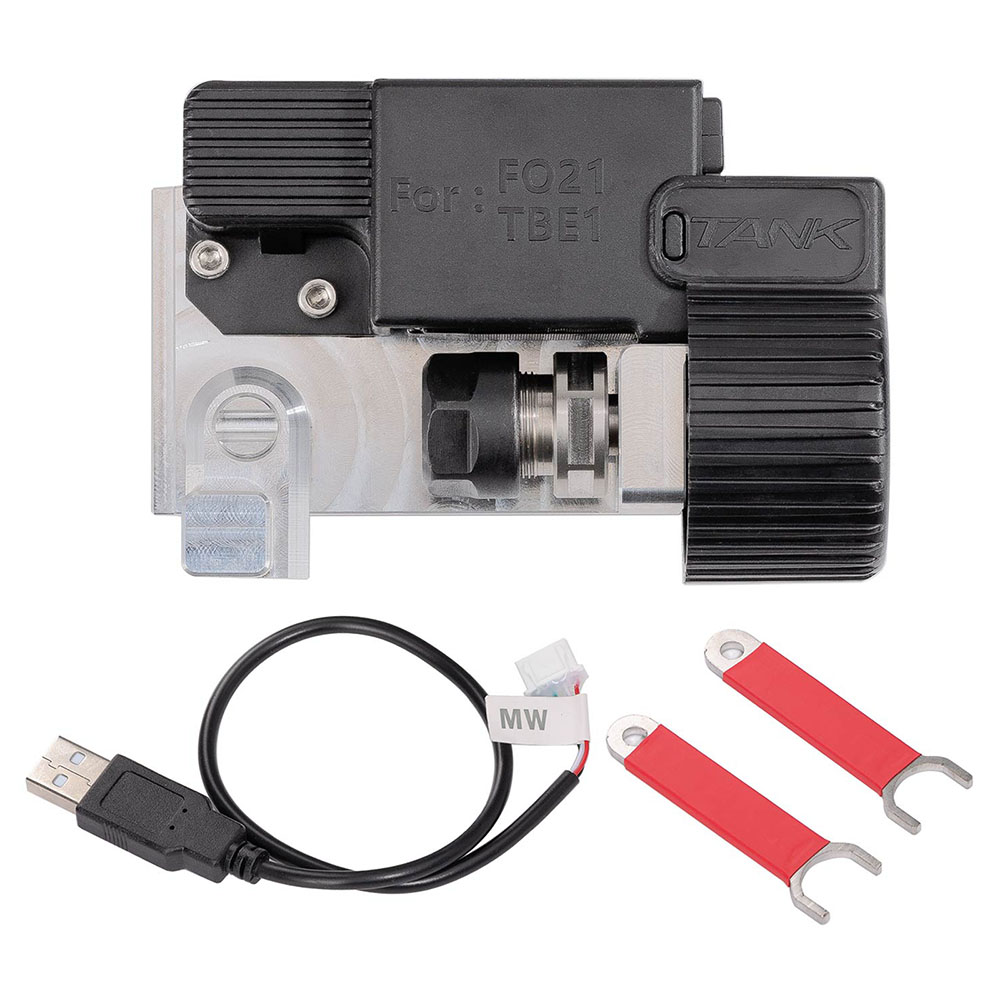
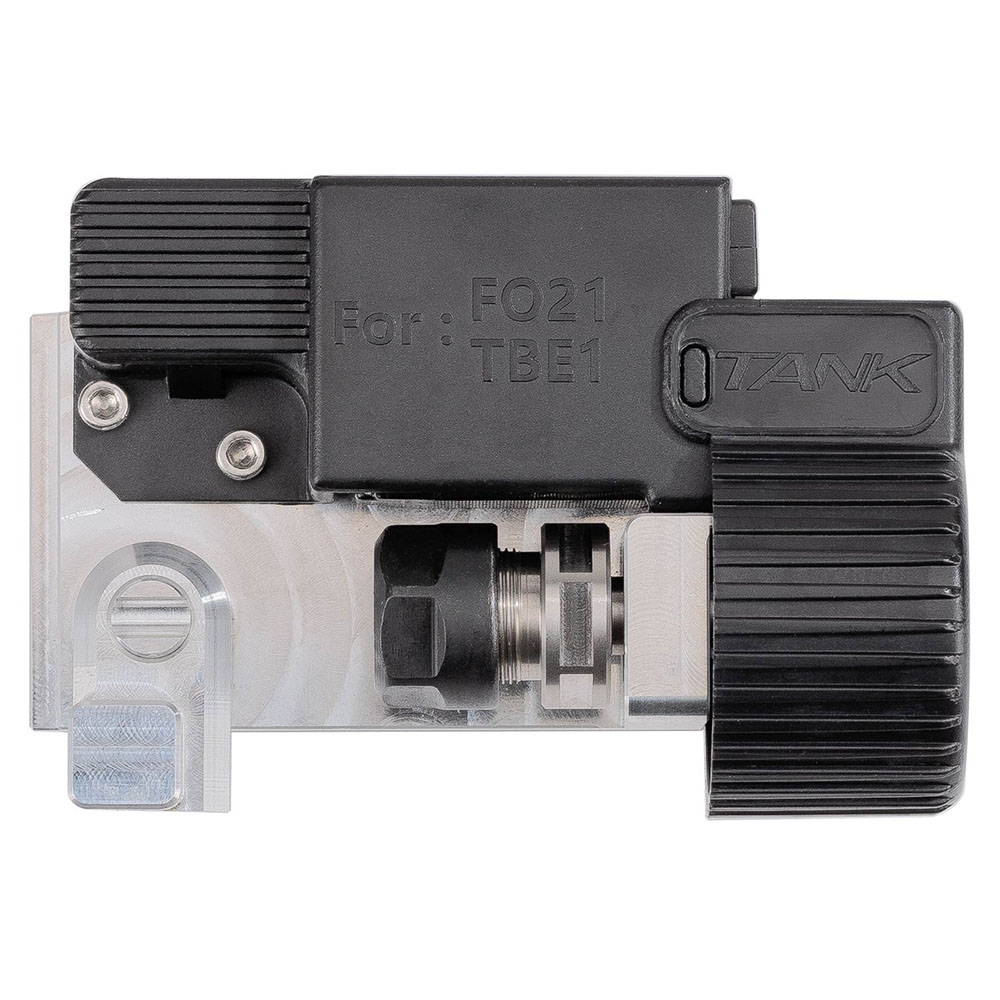
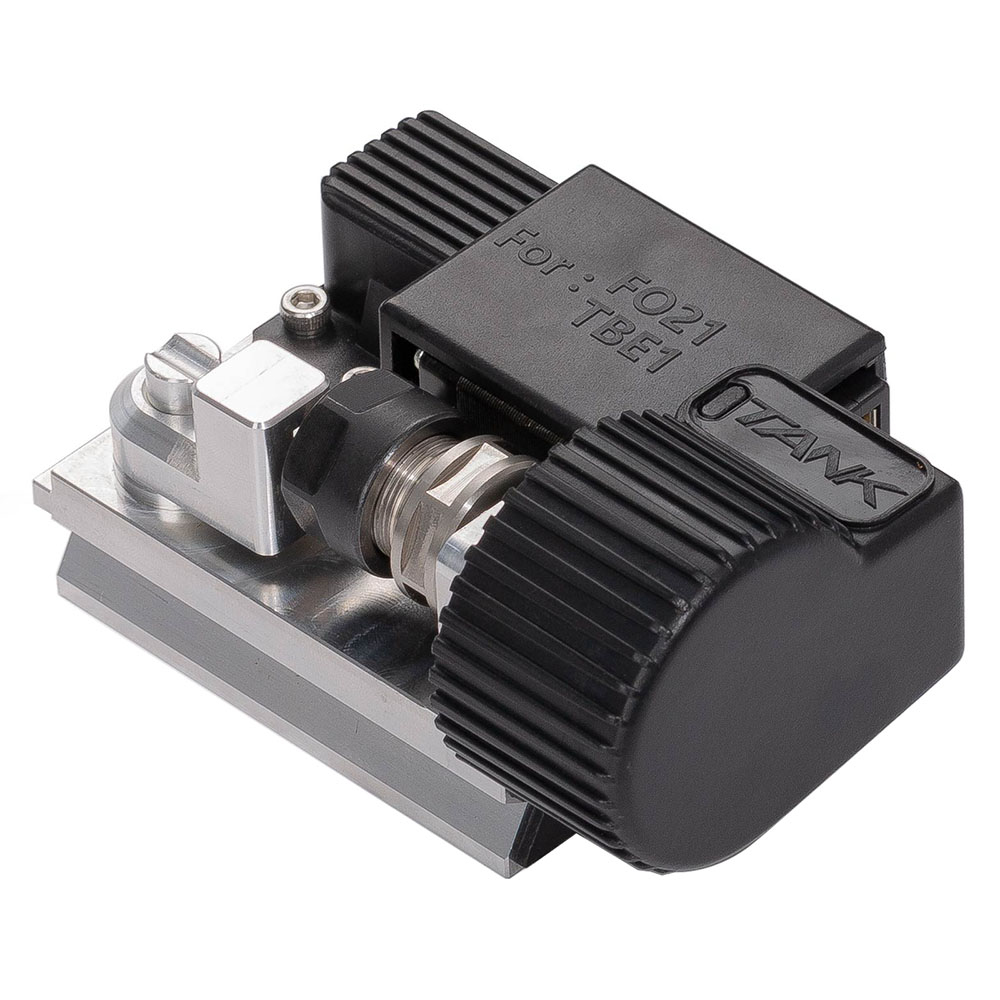
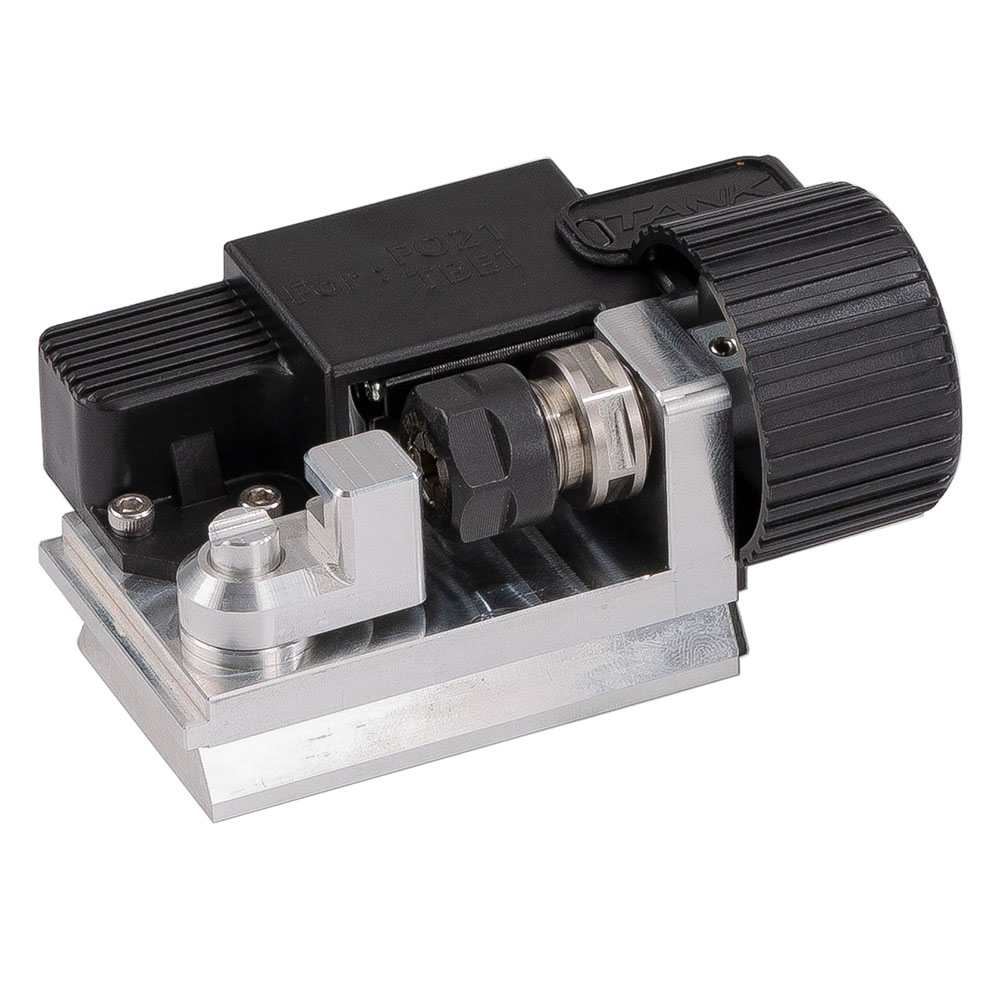
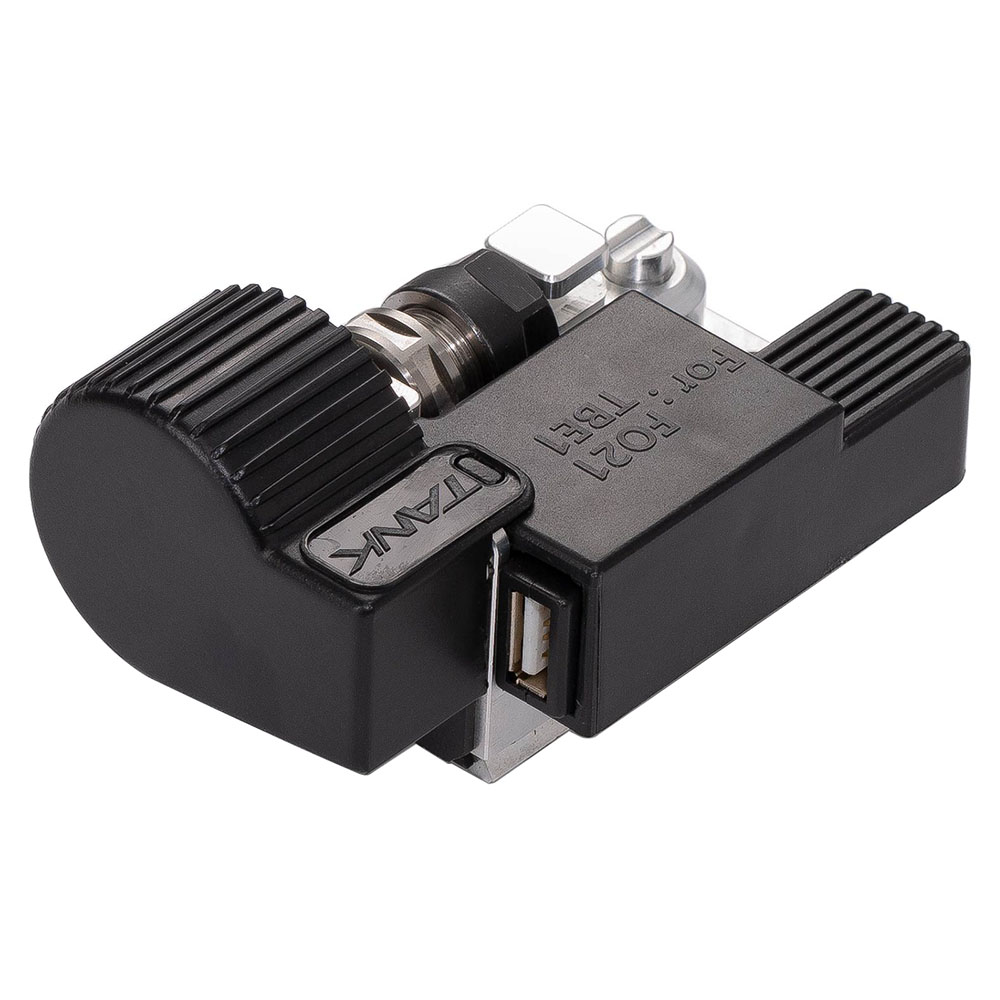
Name: Ford Clamp for FO21 and Jaguar Tibbe Key
 
Description:
 
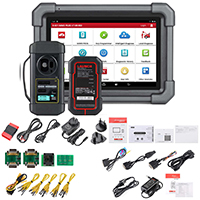
Ford Clamp for FO21 and Jaguar Tibbe Key works with 2M2 Tank 2 Pro CNC Key Cutting Machine / 2M2 Magic TANK Car Key Cutting Machine.
 
Highlights:
 
Global patent technology
Rotate automatically while 12 & 16 sides cut for FO21 & Tibbe Rotated Key
Set Built-in-stacode 
Standard Clamp for Laser Key, Standard Key, Cruciform Key, Dimple Key, Sided Key, Tracked Key (extra more HU162-T,TOY2,HU66)
 
Key Blank Installation:
 
1. Loosen the screw.
2. Remove the standard fixture.
3. Remove the probe.
4. Install the FO21/TEB1 fixture.
5. Tighten the screw.
6. Insert New key blank.
7. Align the red line of the axis to the red line on the right.
8. Turn the key blank off the horizontal position.
9. Tighten the nut by hand at first.
10. Use the fixed block to locate the key blank.
11. Pull the key blank towards the arrow.
12. Rotate the nut and tighten it.
13. Use the red spanner to fix the axis;use the blue spanner to tighten the nut.
14. Move the fixed block away.
15. Key blank installation is finished, the last step is to connect the power cable and click confirm.


You May Also Need
Write Reviews
Notice:
1. Please write reviews related to only current page product.
2. All reviews must be in proper words and contain no any illegal content!
3. Improper reviews will not be posted! Correct reviews will be viewed or replied within 1-2 working days.
 
Rating:
Reviews:
Verify Code:
   
   
Please input your E-mail for getting discount promotion information and new product release news.
Only same business potential buyers are welcome! No spam mail!
   
OBDSOS Community:  
 
OBDSOS | NEW ARRIVAL | SHIP FROM EU | PRODUCTS | HOW TO BUY? | WHY OBDSOS? | WARRANTY | HOW TO SHIP? | CONTACT US

OBDSOS Electronic Co., Ltd. © 2005 - 2025 All rights reserved!
OBDSOS Live Talk